
好的,所以不要被这ori完全吓坏了gami infinity cube project. And, when I say project, I mean it may take a little longer than other origami items you have previously given to your kids. In this post, I’ll show exactly how to make an origami infinity cube, including a video and step-by-step instructions with photos for an end project that’s going to knock their socks off!
From the Japanese ori meaning “folding” and kami meaning “paper,” origami makes for a fun activity to do with your students, plus they walk away with something they can actually use! It features 8 interconnected cubes, inspired by theYoshimoto Cubeinvention by Naoki Yoshimoto. This particular kind of origami can end up being great for stress relief, as they flip and fold over and over to enhance focus.
It really isn’t as hard as it looks, and the end product is amazing! I would recommend you read the steps and also watch the video to get a good grasp on what to do.
How to Make an Origami Infinity Cube
Before you get started on the cubes, you will need 8 groups of 6 pieces of square paper (1.5 in x 1.5 in).
Step 1:Fold one piece of paper in half to get the halfway fold mark.

Step 2:Open up the square and fold each side edge to the crease line you created in step 1.
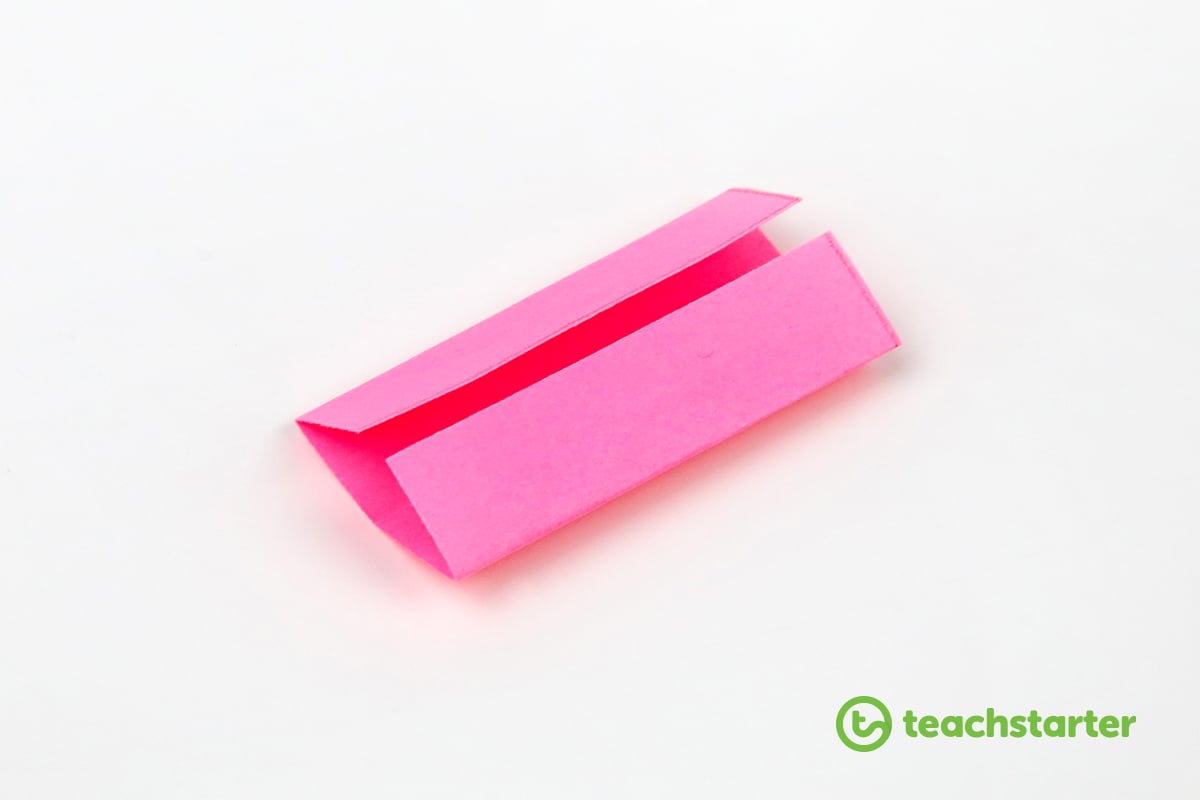
Step 3:Fold the smallest edges over to create a halfway crease going the other way. Then, open up what you folded and fold the smaller edges into the crease line you created.
Your piece of paper should now look like this…
Step 4:Repeat five more times using different colors.

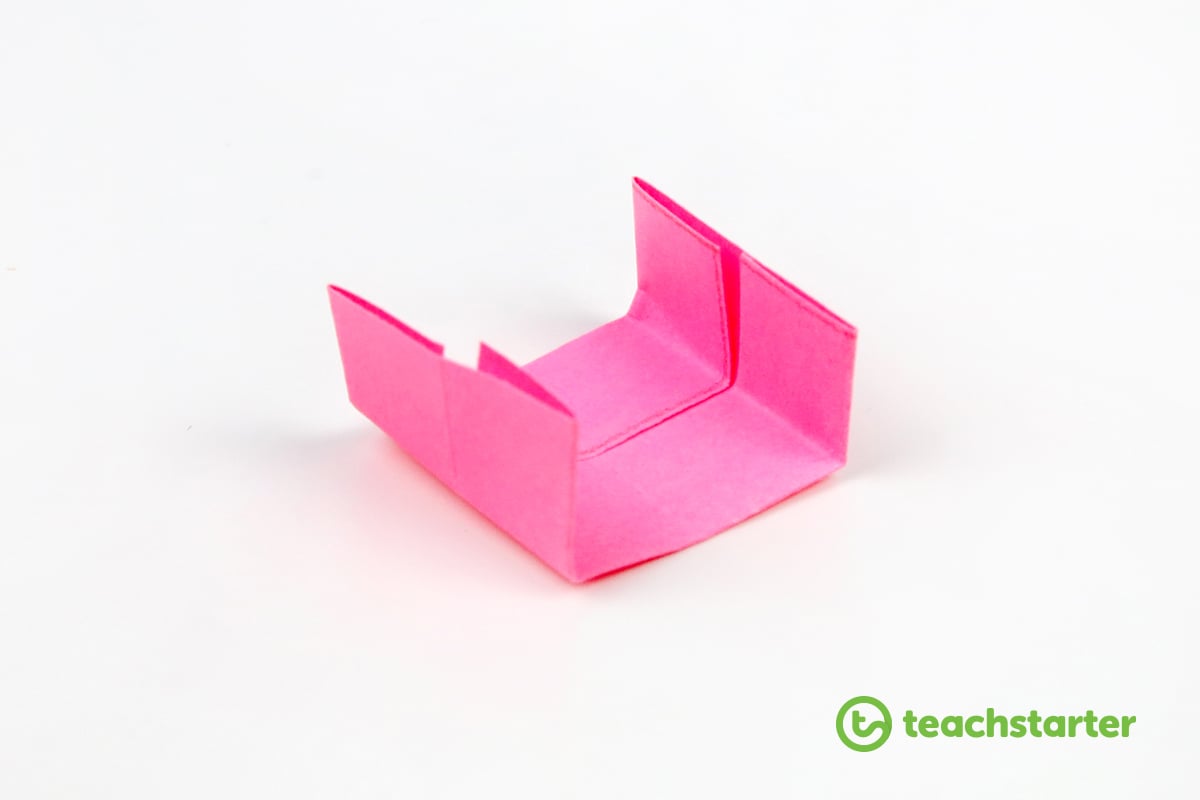
Step 5:This is very tricky to explain. But, you are basically creating a small 3-D cube by interlacing each of the folded squares.
We would suggest paying close attention to the video at the 41-second mark. You can also download this step-by-step onhow to build an origami box!
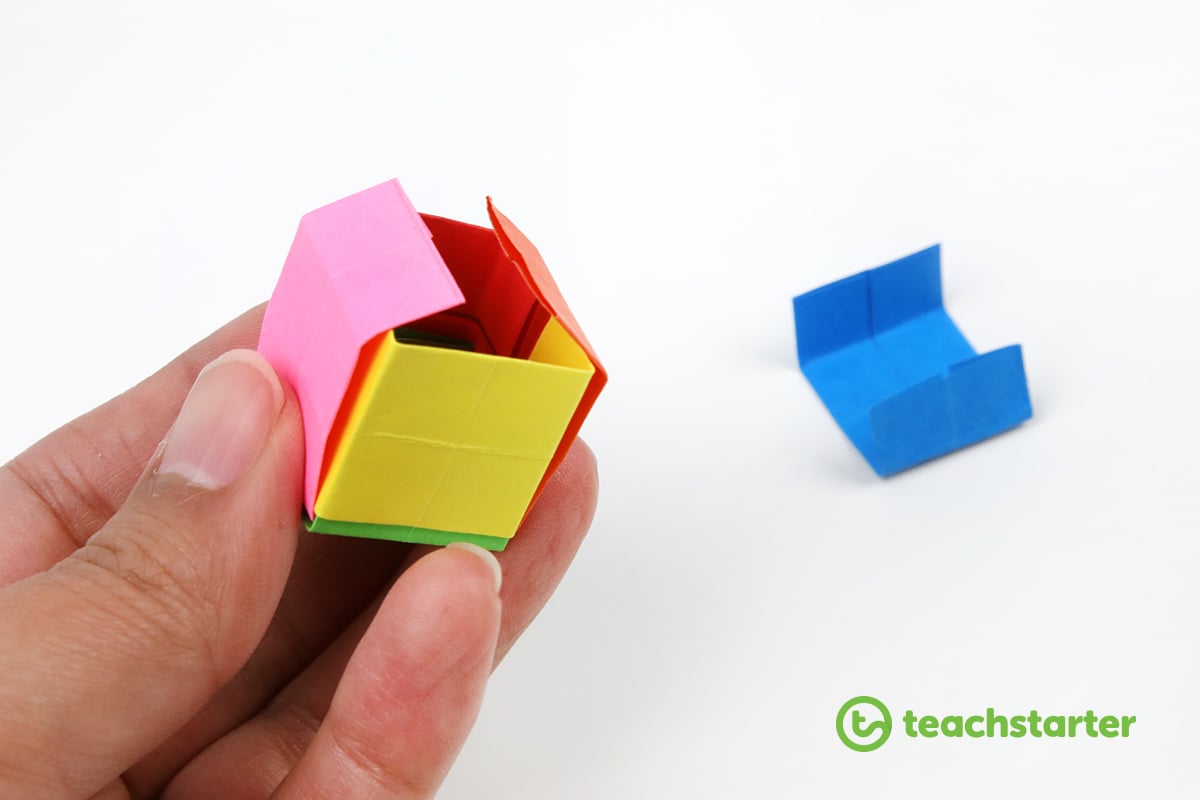
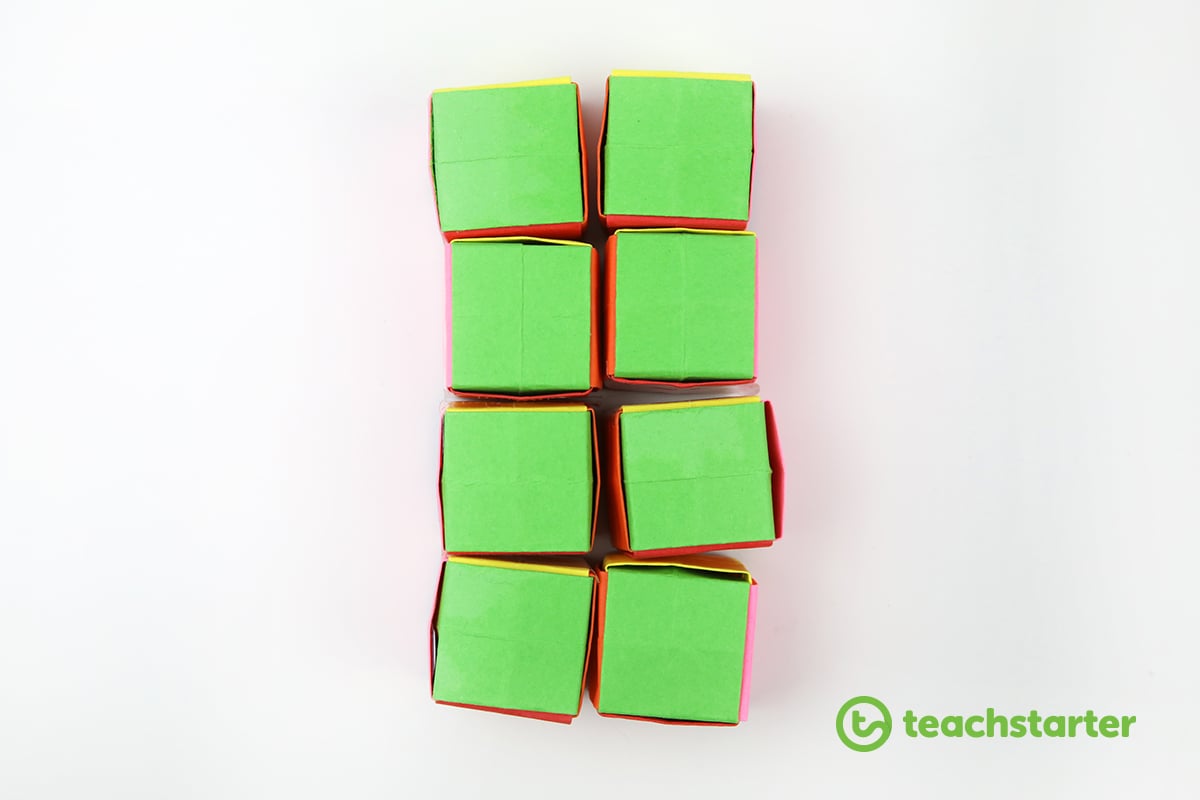
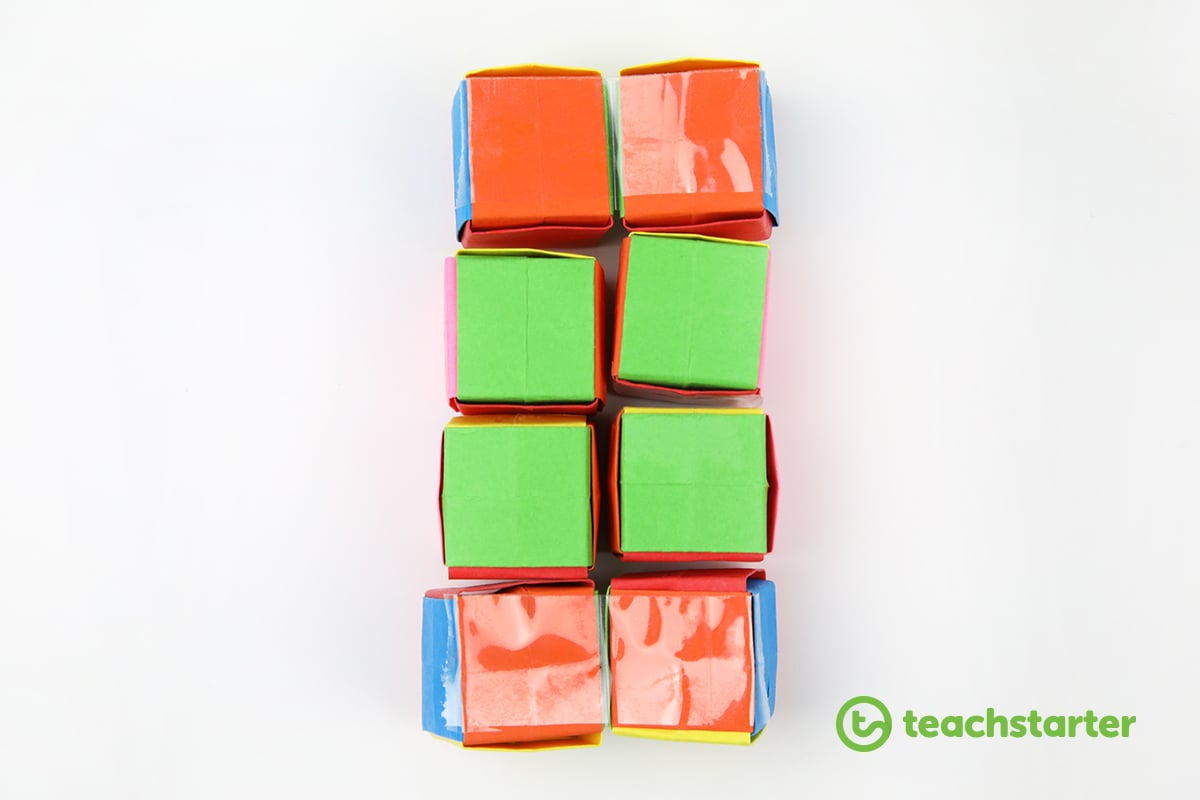
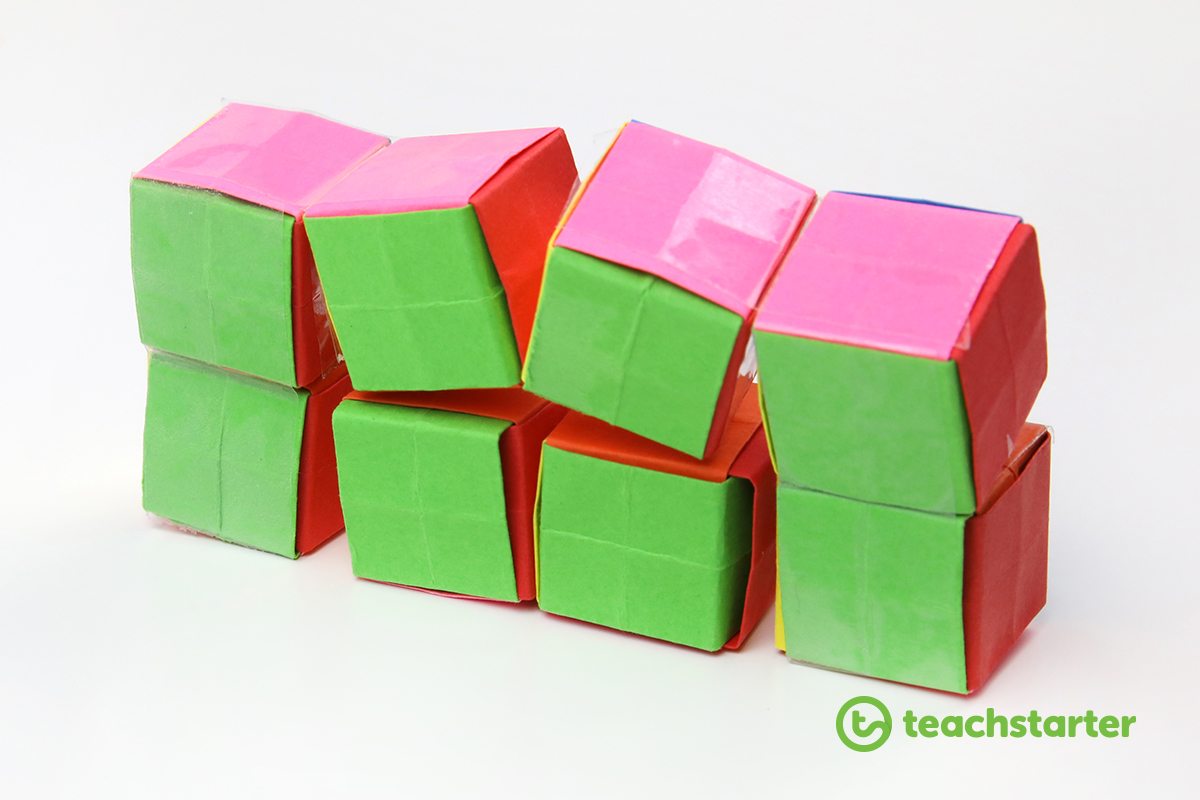
Step 6:Repeat steps 1- 5 until you have 8 perfect little 3-D cubes! You’re almost done, we promise. Place all 8 boxes in 2 rows with the same color showing.
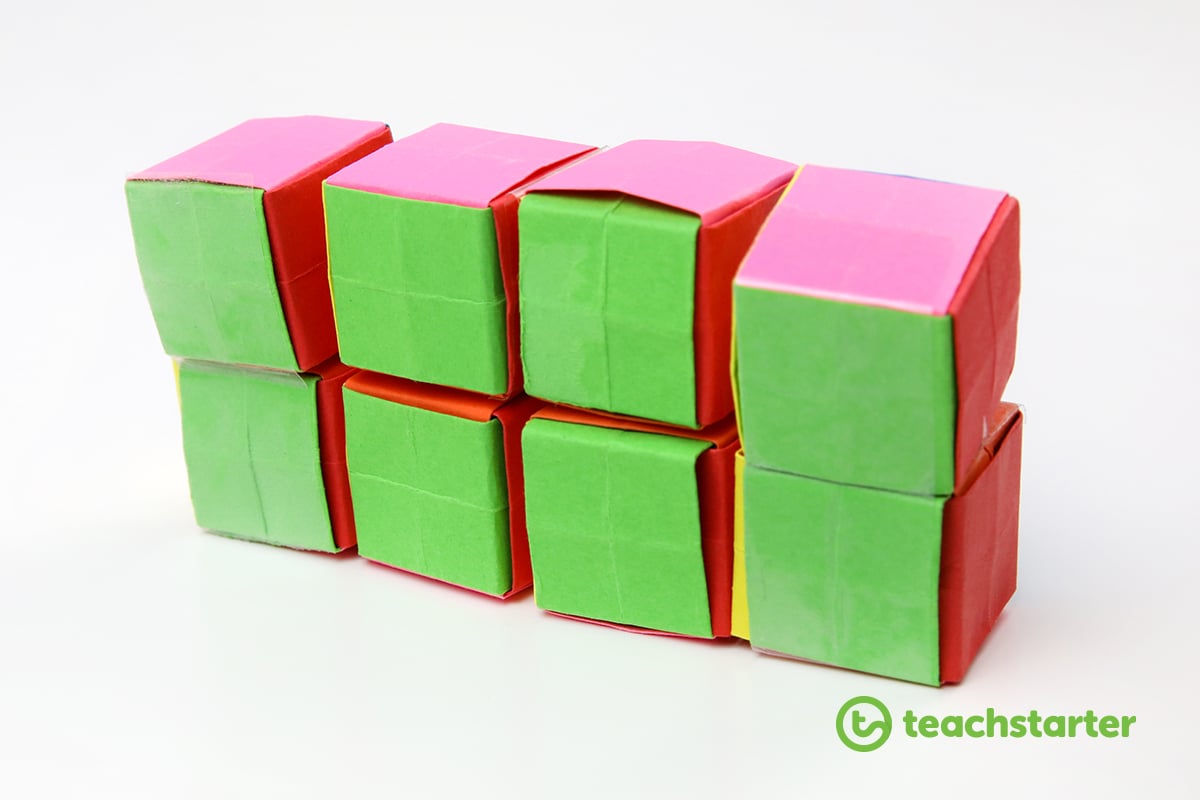
Step 9:Sticky tape the 2 boxes at each end together, horizontally.
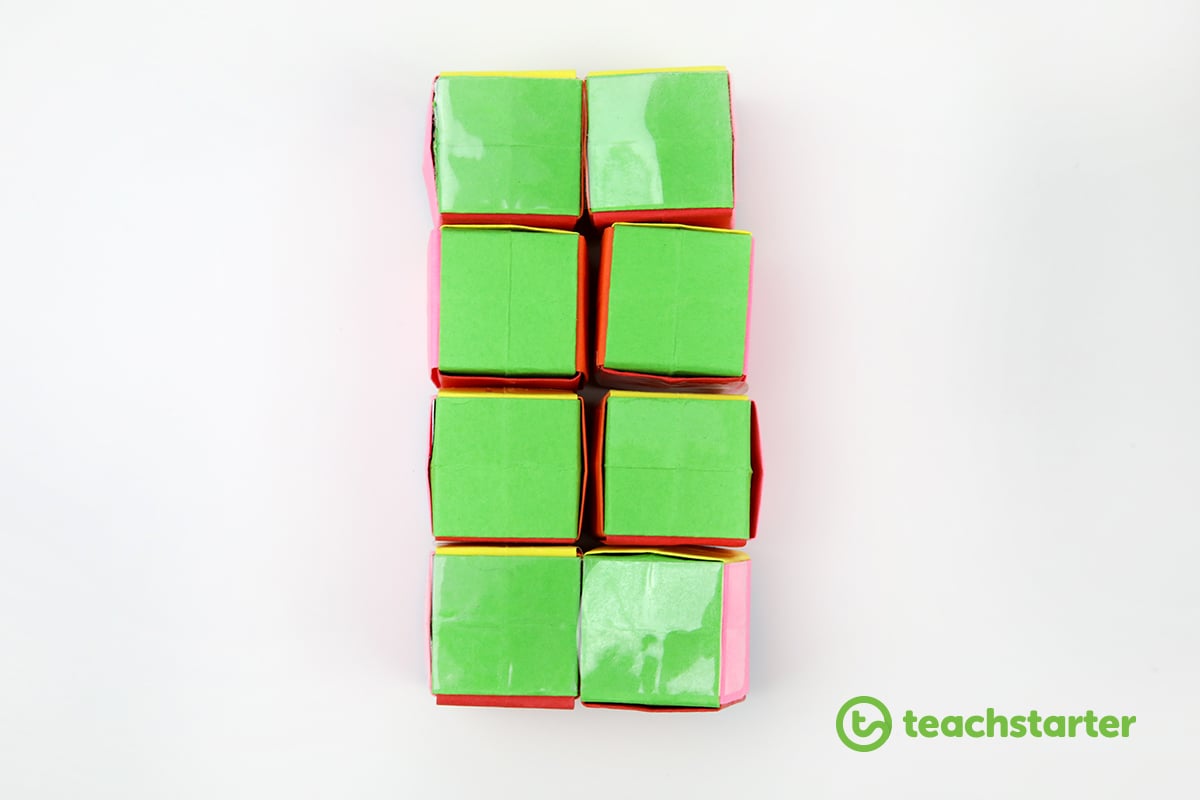
Step 10:Pull the hinge back on each end, and sticky tape the opposite side.
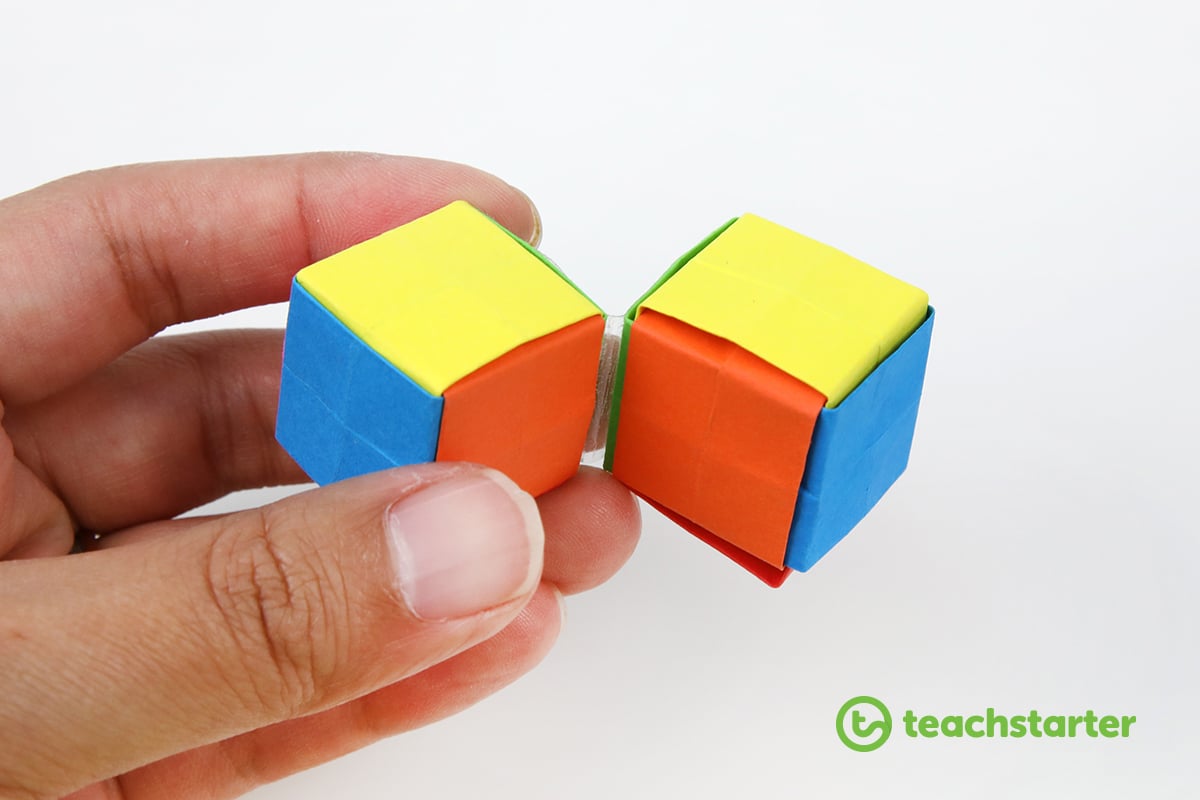
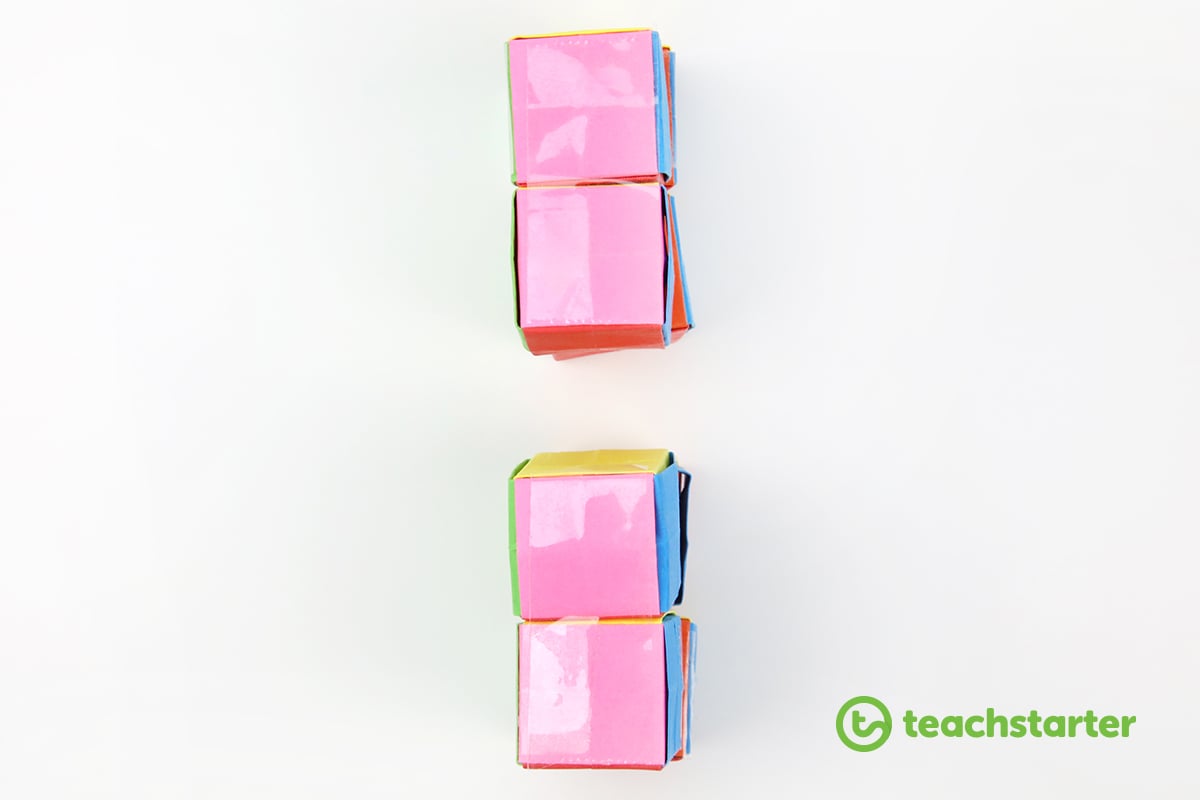
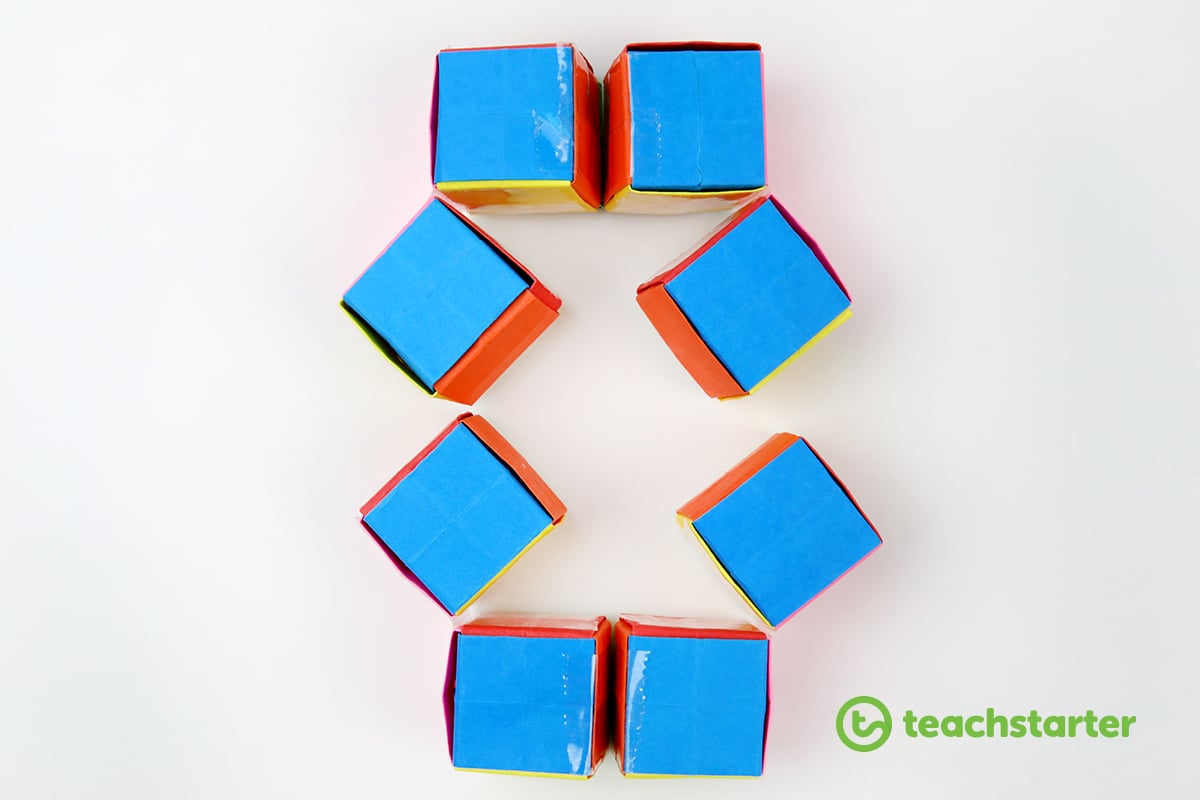
步骤11:Fold the two ends back to the same color and pick up all 8 blocks and place them on the side. Like the image below:
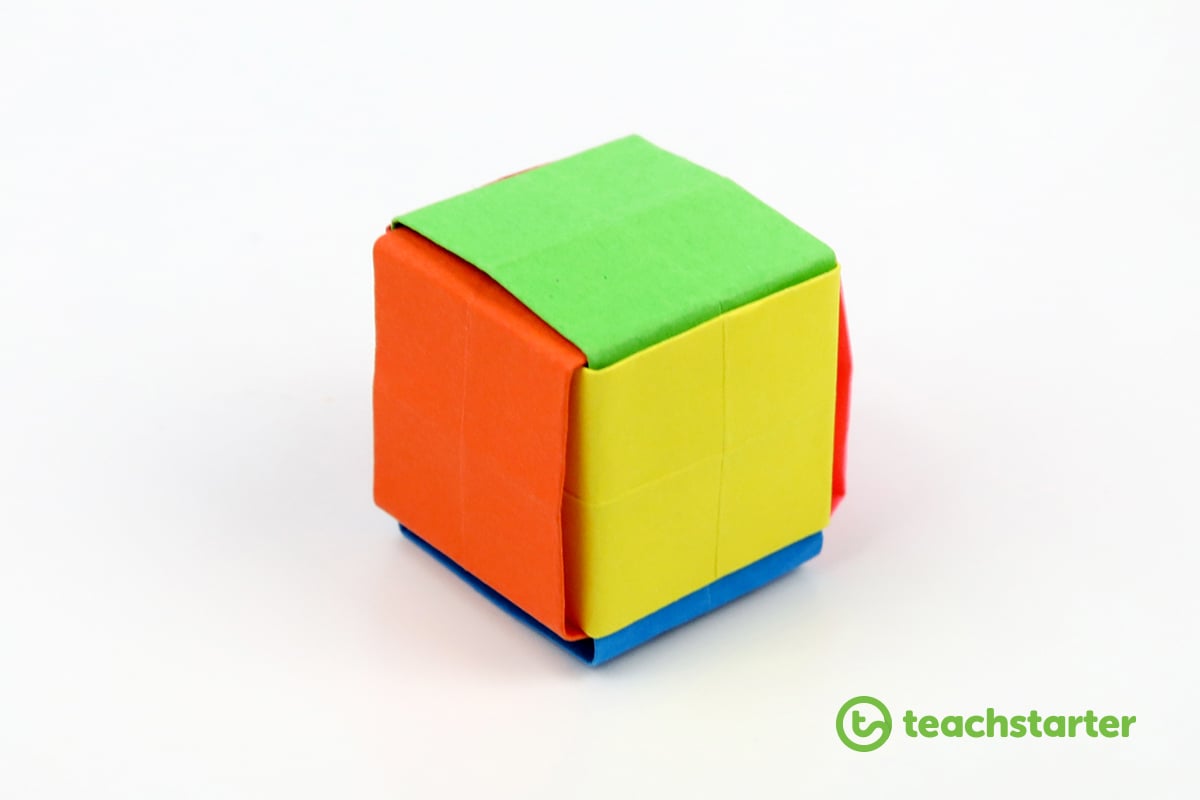
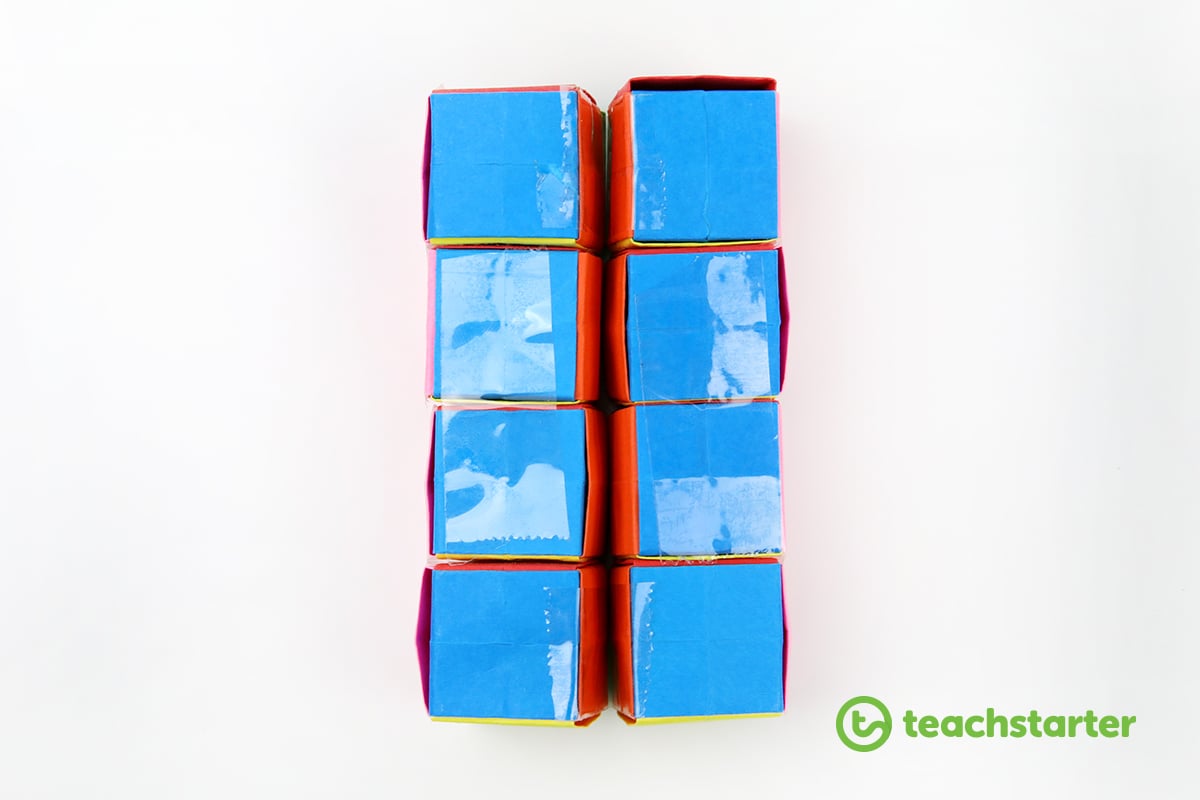
Step 12:Now, sticky tape the 2 boxes at each end together.
Step 13:Pull the hinge back on both ends and tape the other side. Like you did in step 10.
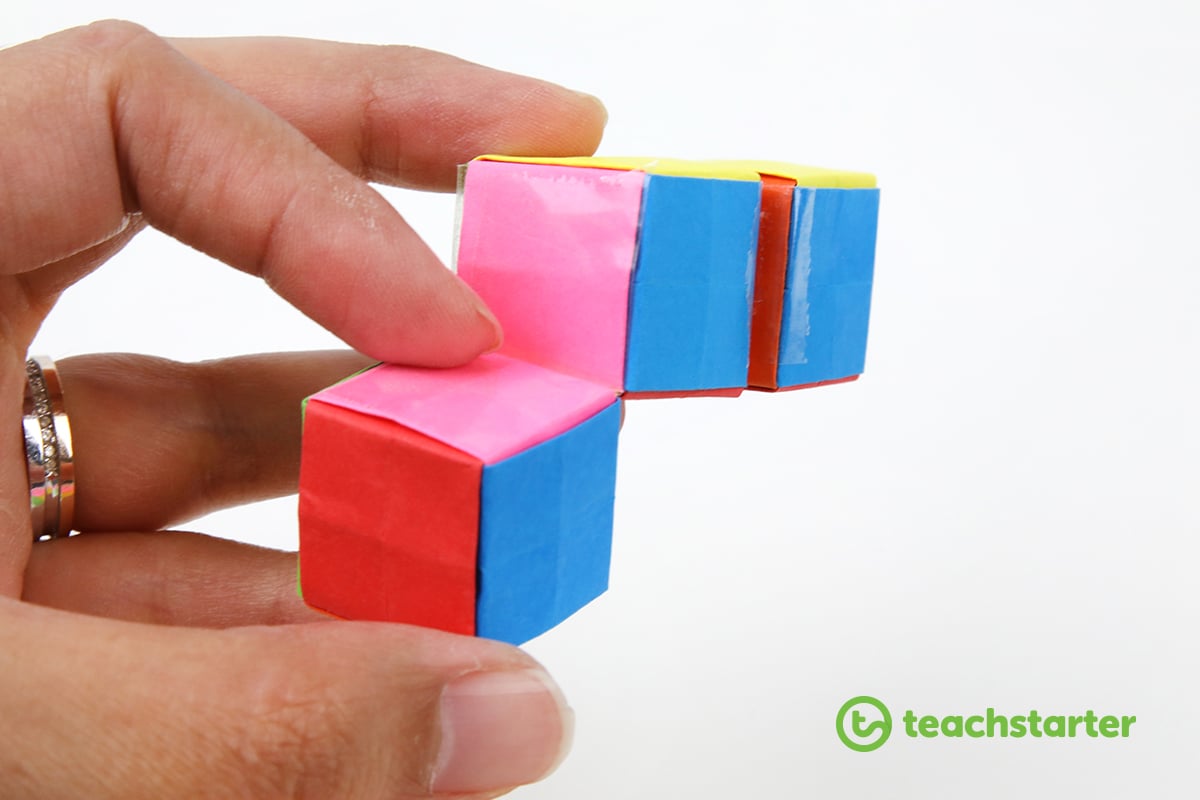
Don’t worry, there is meant to be a box on each end that still hasn’t found any friends…
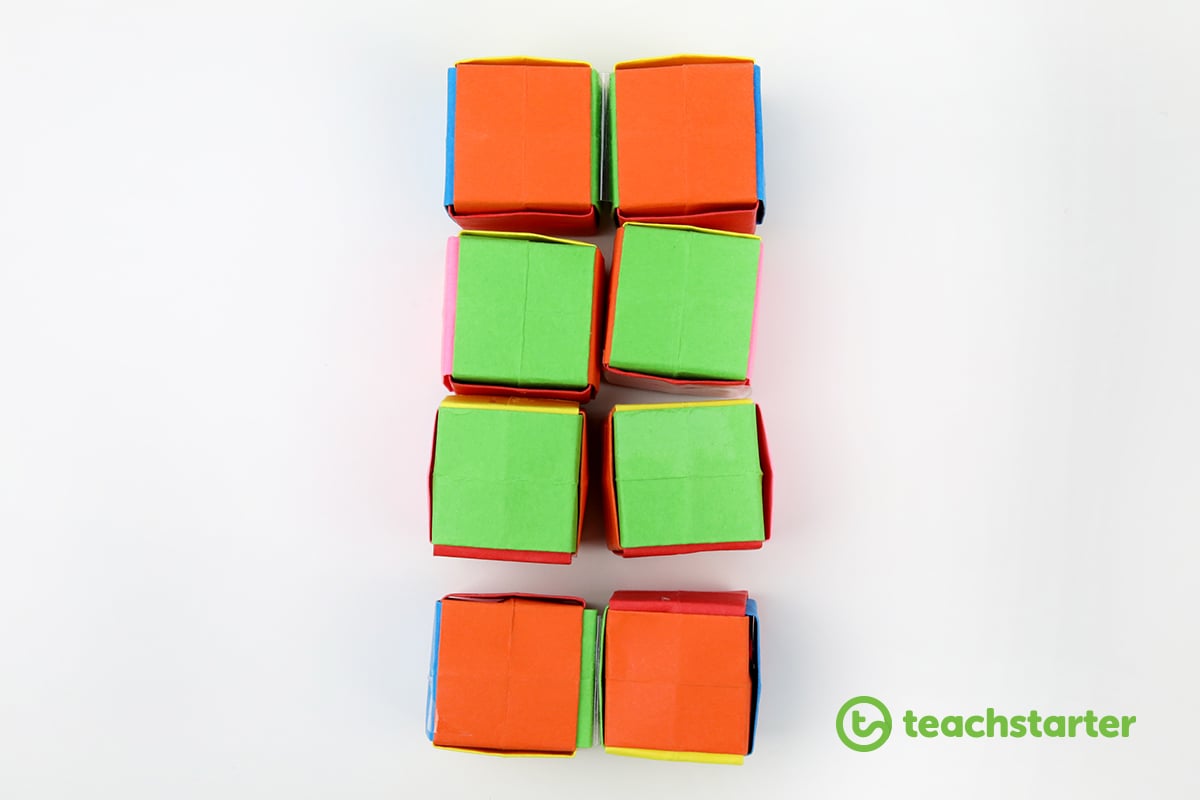
Step 14:Pick up all 8 boxes and turn over to the other side.
Repeat steps 12 and 13.
Although this time, you shouldn’t have any boxes that are left loose.
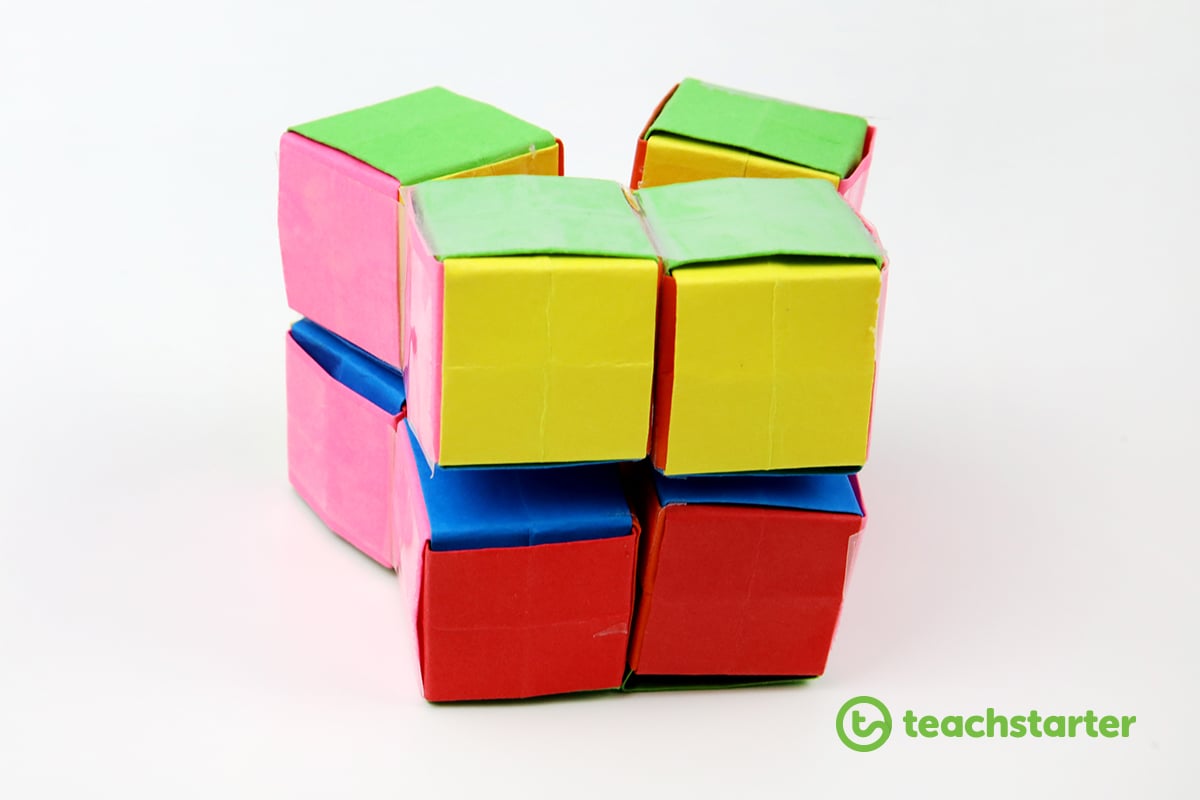
Step 15:Finally, turn all 8 blocks over to the opposite side you started on. They should all have the same color showing…
Step 16:Stick the remaining 4 blocks together. like so…
Ta dah… you are done!
Love it!? You might like to check out some of our other blog posts that show how to make awesome origami for kids:
Or give these adorable animal origami projects a try!
teaching resource
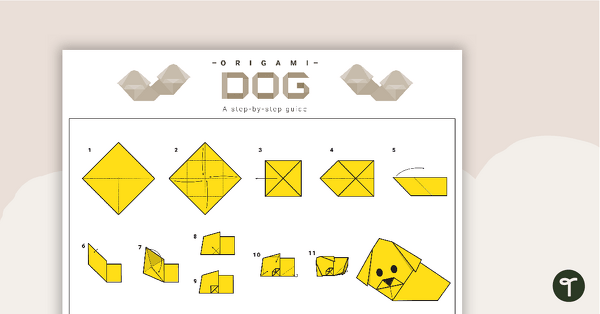
Origami Dog Step-By-Step Instructions
Visual instruction page to use when creating an origami dog.
teaching resource
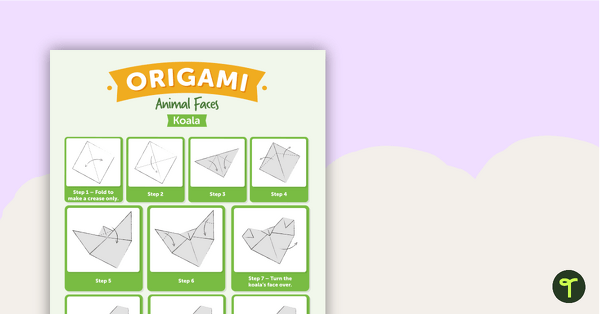
Origami Animal Faces Worksheet
A fun art activity to explore shape through the creation of origami animal faces.
teaching resource
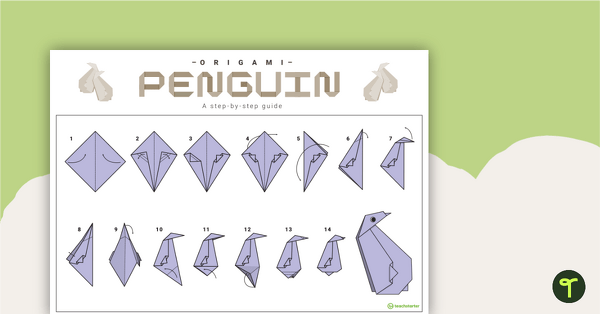
Origami Penguin Step-By-Step Instructions
Visual instruction page to use when creating an origami penguin.


Nicely explained
Thank you for the lovely feedback, Lily! We hope you and your students have a great time with this activity!