
Ok, so don’t be completely freaked out by this origami infinity cube project. And, when I say project, I mean it may take a little longer than other origami items you have previously given to your kids. In this post, I’ll show exactly how to make an origami infinity cube, including a video and step-by-step instructions with photos.
From the Japanese ori meaning “folding” and kami meaning “paper,” origami makes for a fun activity to do with your students, plus they walk away with something they can actually use! It features 8 interconnected cubes, inspired by theYoshimoto CubeNaoki Yoshimoto发明。这种特殊的折纸最终可能非常适合缓解压力,因为它们一遍又一遍地折叠以增强注意力。
它确实并不像看起来那样难,最终产品也很棒!我建议您阅读这些步骤,还可以观看视频,以掌握该怎么做。
How to Make an Origami Infinity Cube
You will need 8 groups of 6 pieces of square paper (4cm x 4cm).
步骤1:Fold one piece of paper in half to get the halfway fold mark.

第2步:Open up the square and fold each side edge to the crease line you created in step 1.
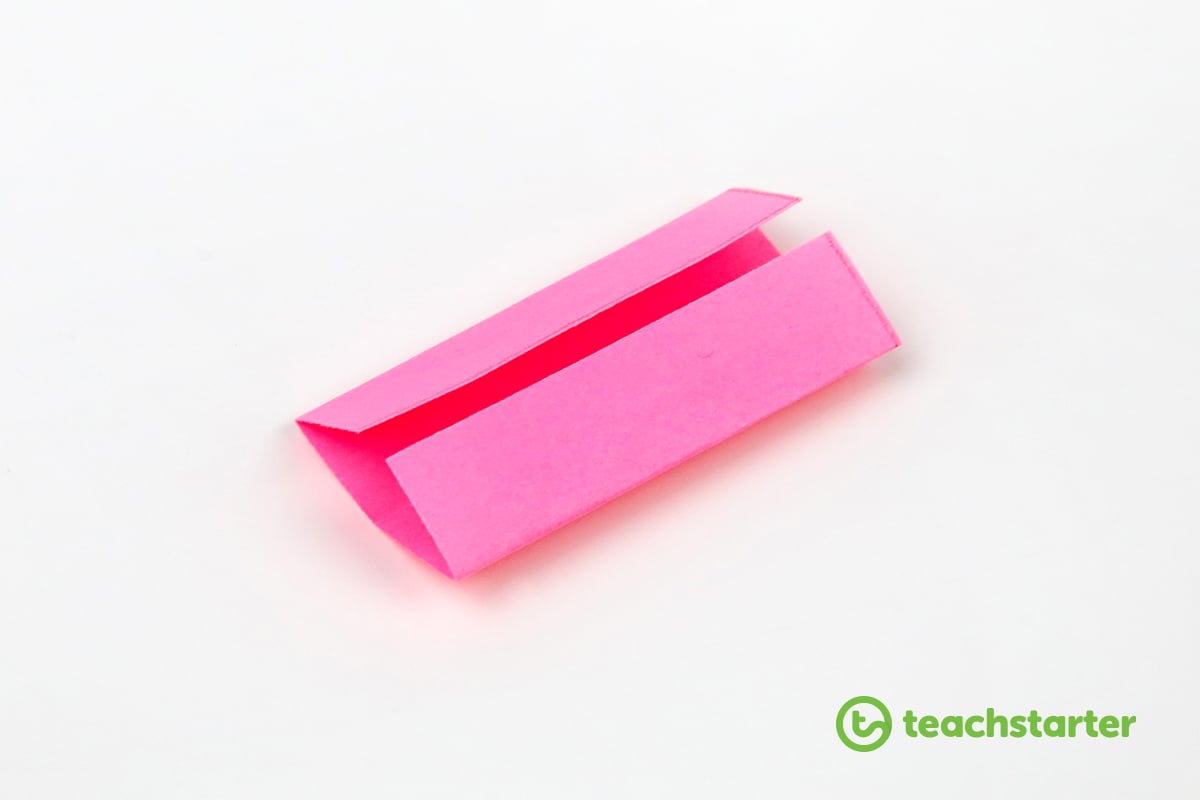
Step 3:Fold the smallest edges over to create a halfway crease going the other way. Then, open up what you folded and fold the smaller edges into crease line you created.
您的纸现在看起来应该像这样…
Step 4:Repeat five more times using different colours.

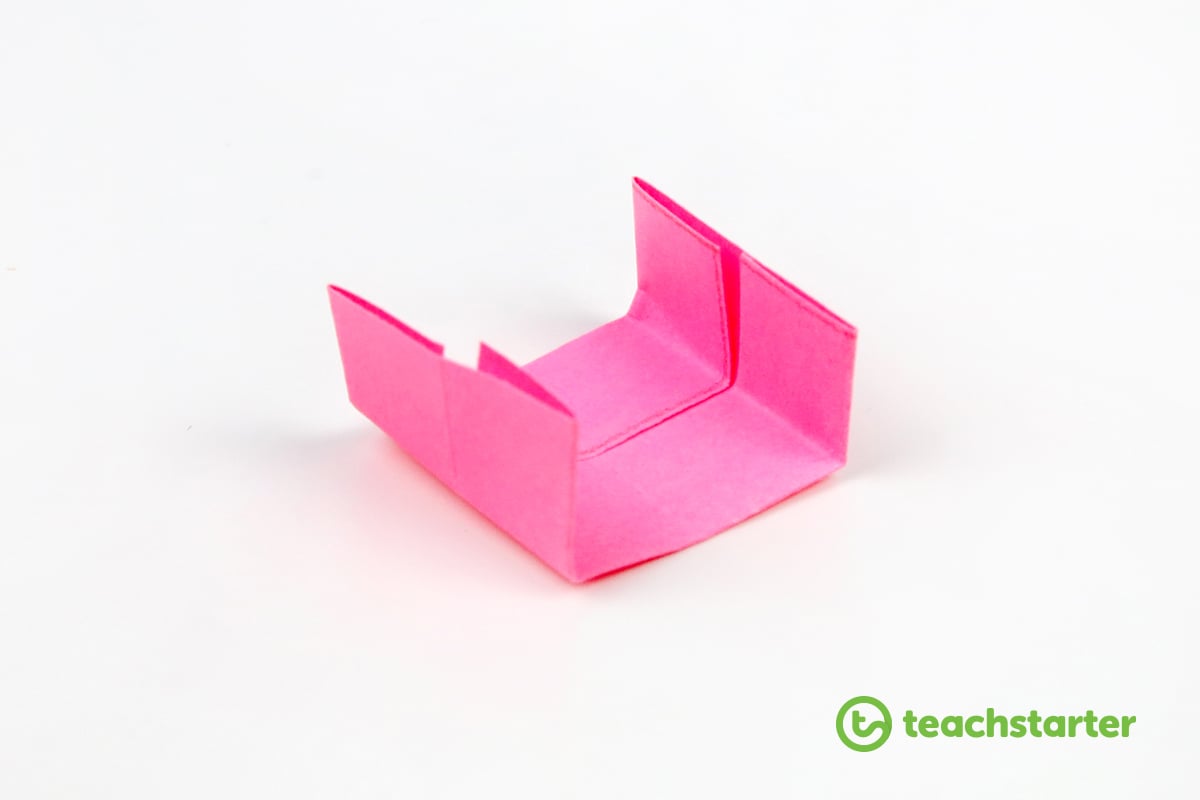
步骤5:这很难解释。但是,您基本上是通过与每个折叠正方形的隔墙来创建一个小的3D立方体。
I would suggest watching the video very well at the 41-second mark.
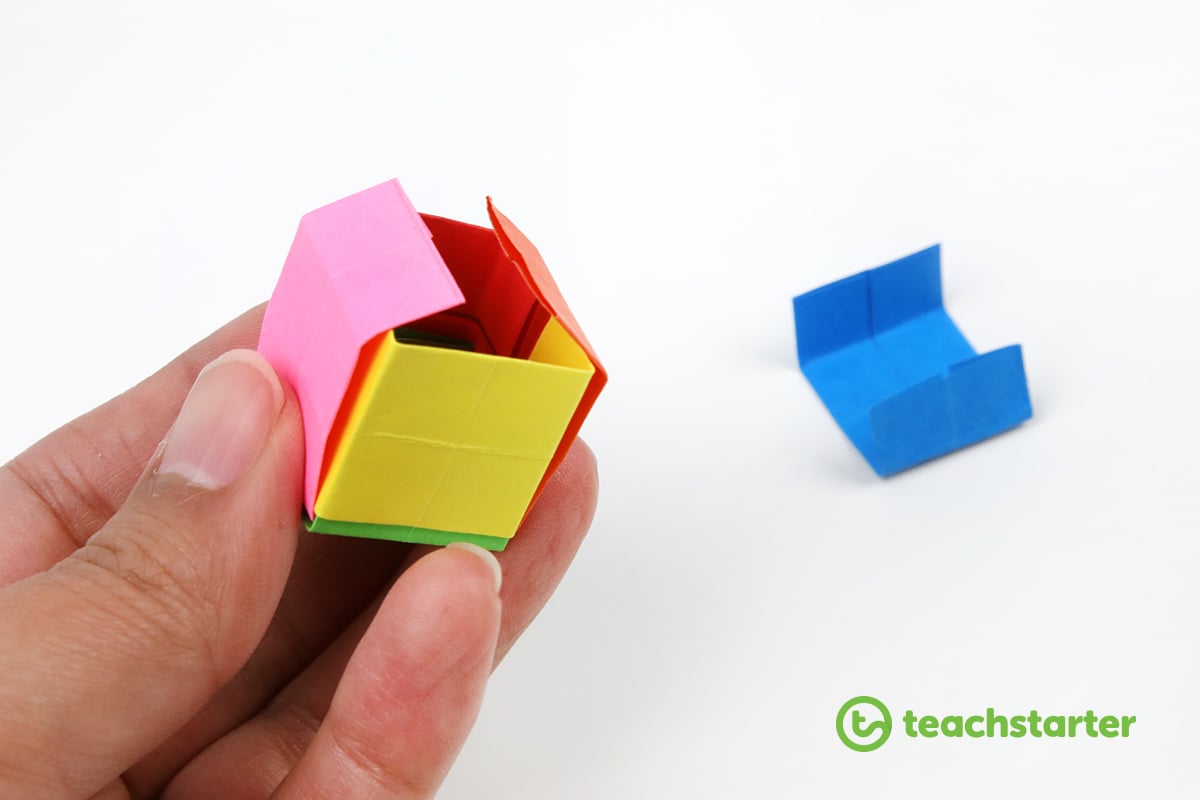
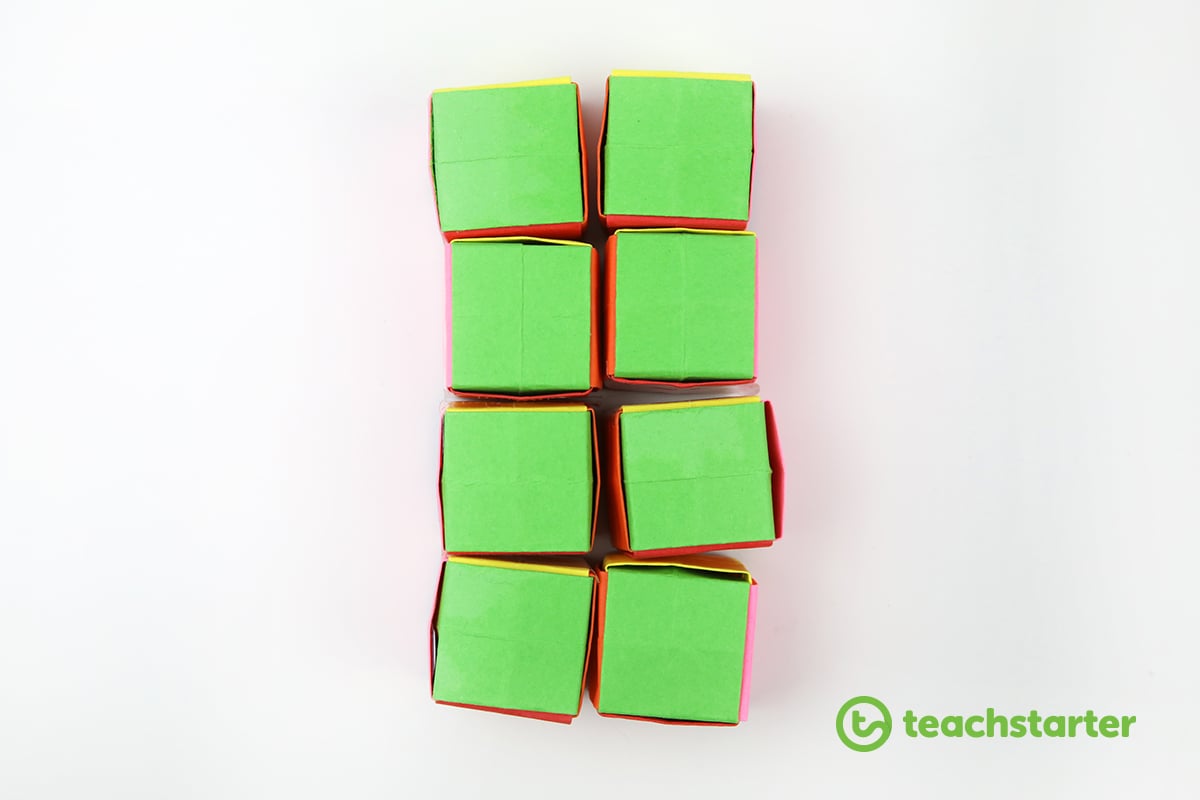
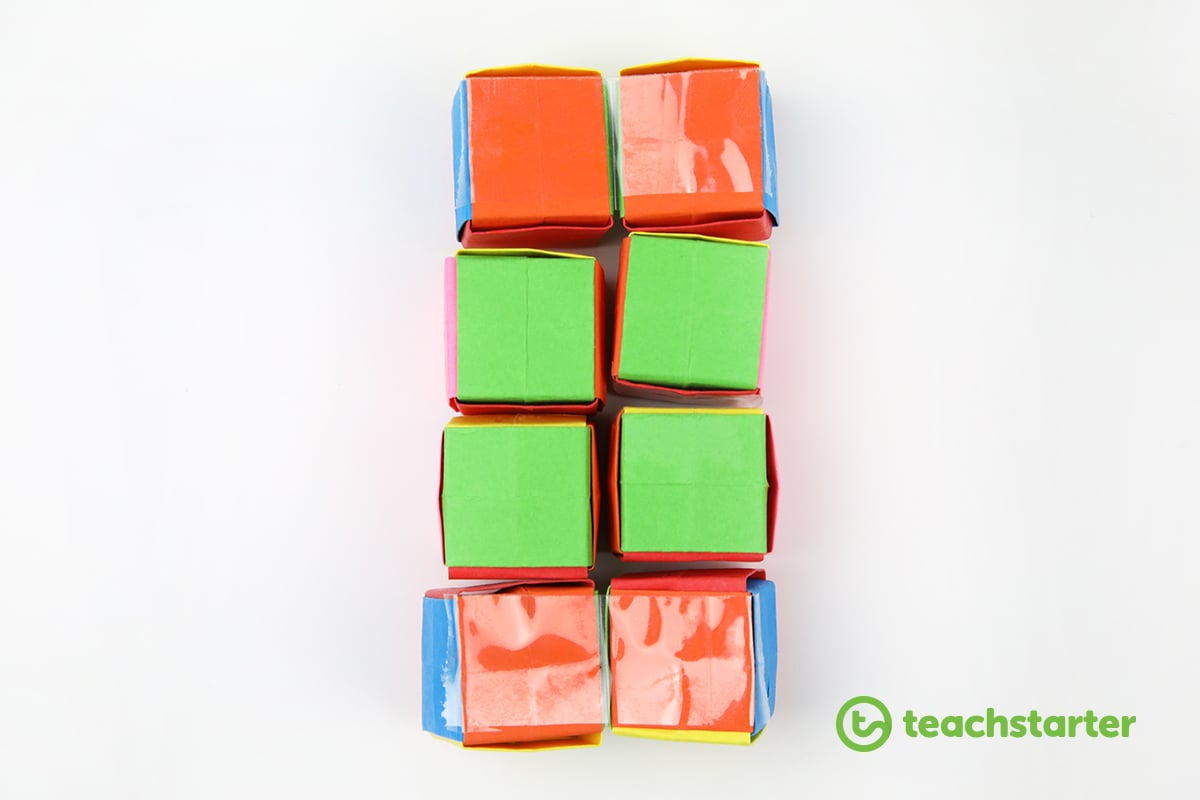
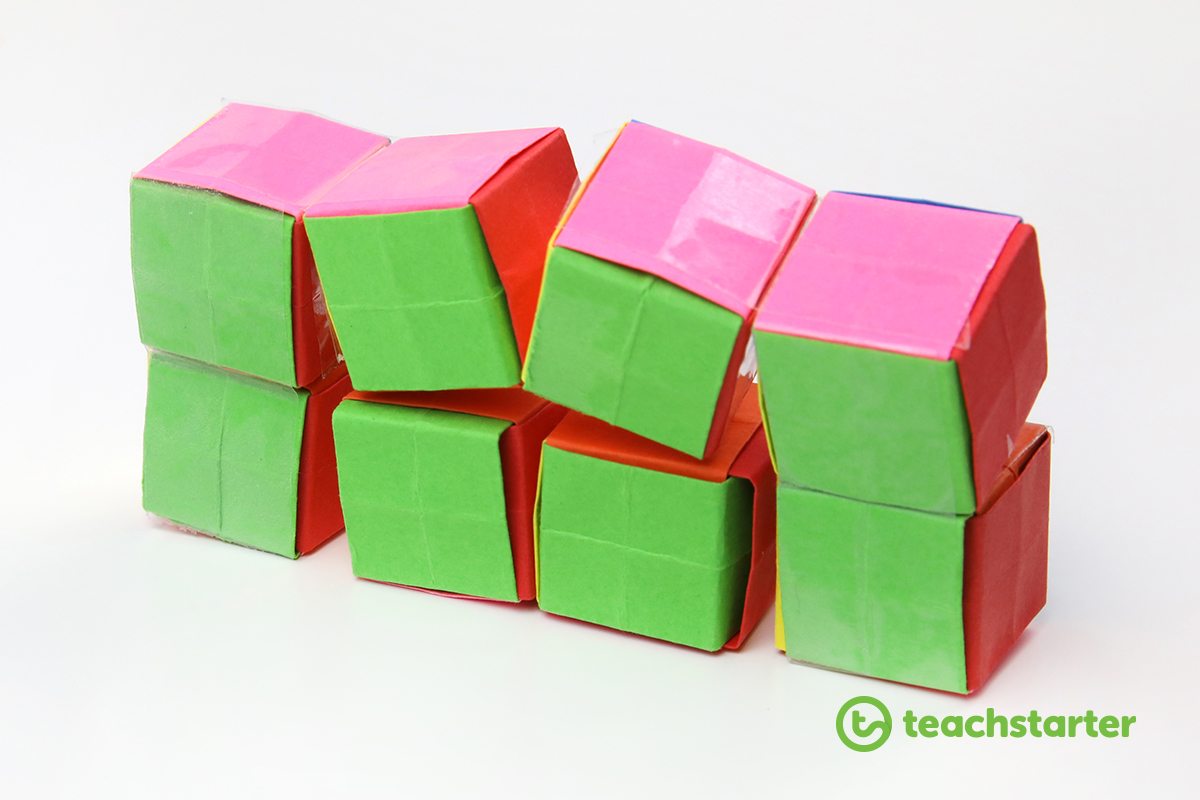
Step 6:Repeat steps 1- 5 until you have 8 perfect little 3D cubes. Place all 8 boxes in 2 rows with the same colour showing.
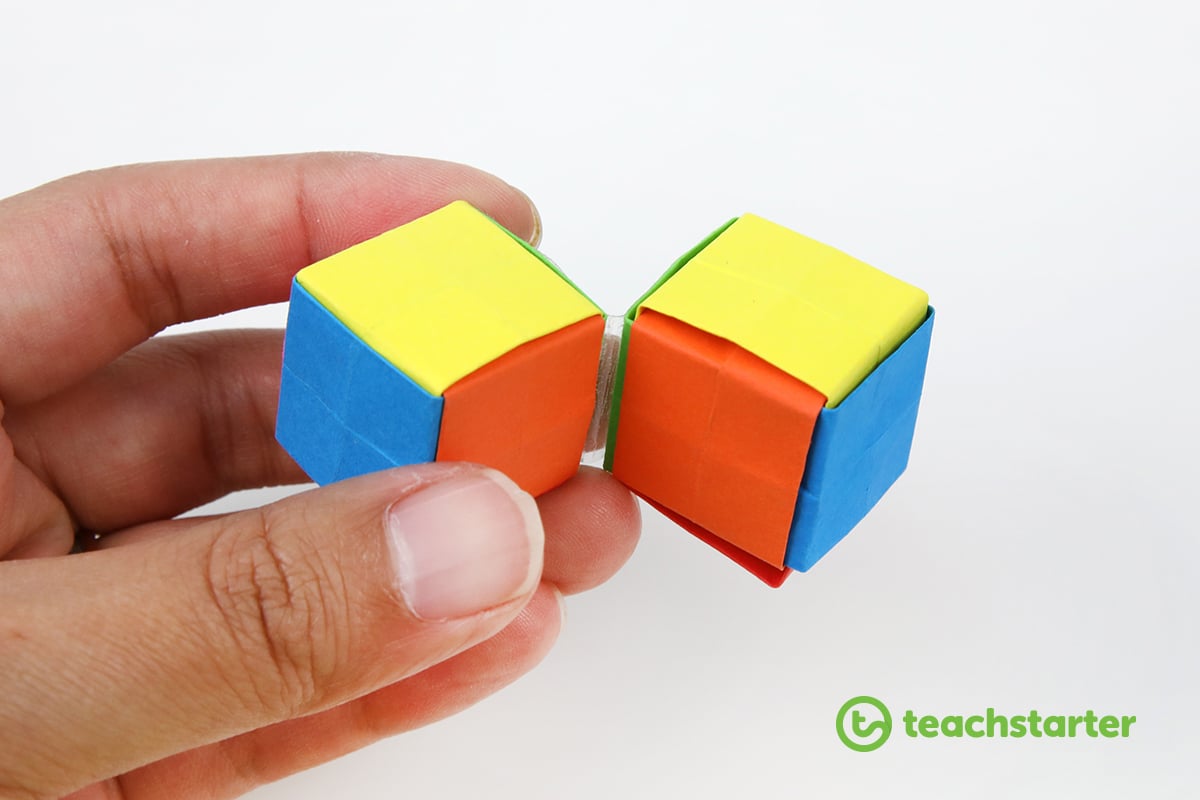
Step 9:将胶带粘在一起的两个盒子在水平的两端。
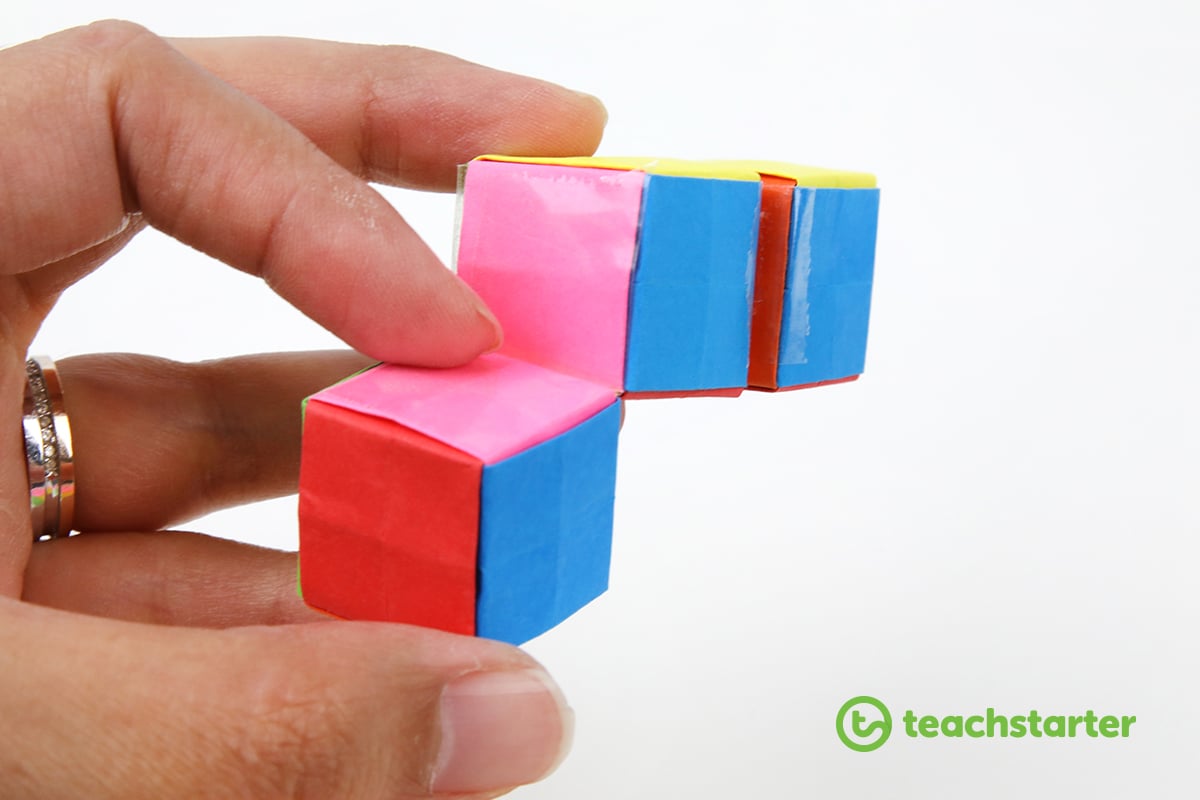
Step 10:Pull the hinge back on each end and sticky tape the opposite side.
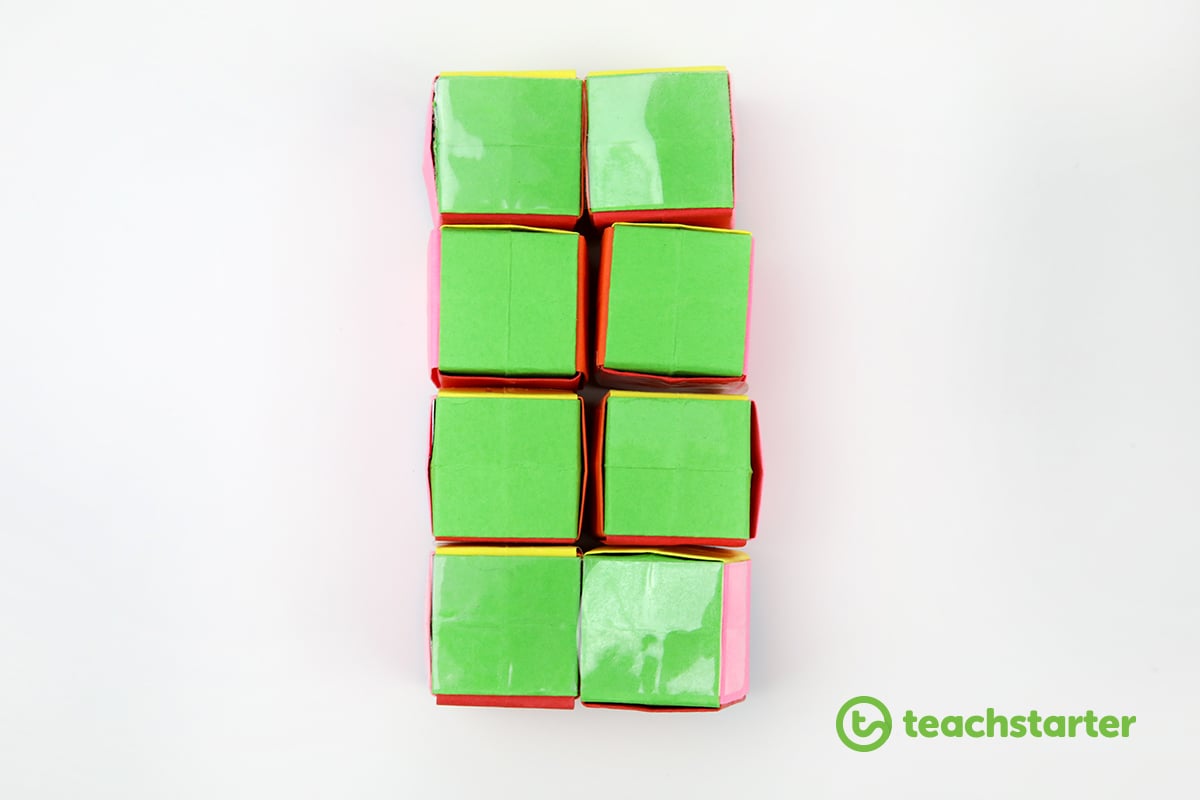
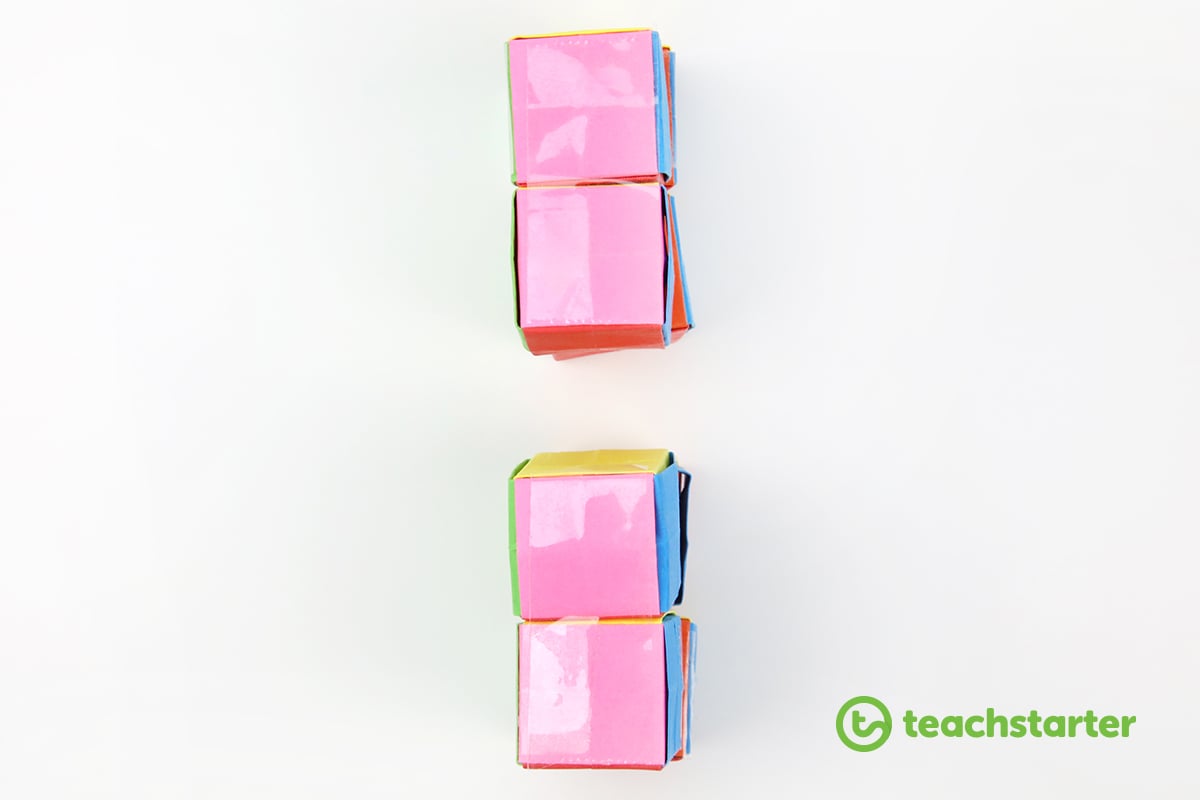
步骤11:Fold the two ends back to the same colour and pick up all 8 blocks and place them on the side. Like the image below:
步骤12:现在,将两个盒子粘在一起的胶带在一起。
步骤13:将铰链拉回两端,然后将铰链绑在另一侧。就像您在步骤10中所做的一样。
Don’t worry, there is meant to be a box on each end that still hasn’t found any friends…
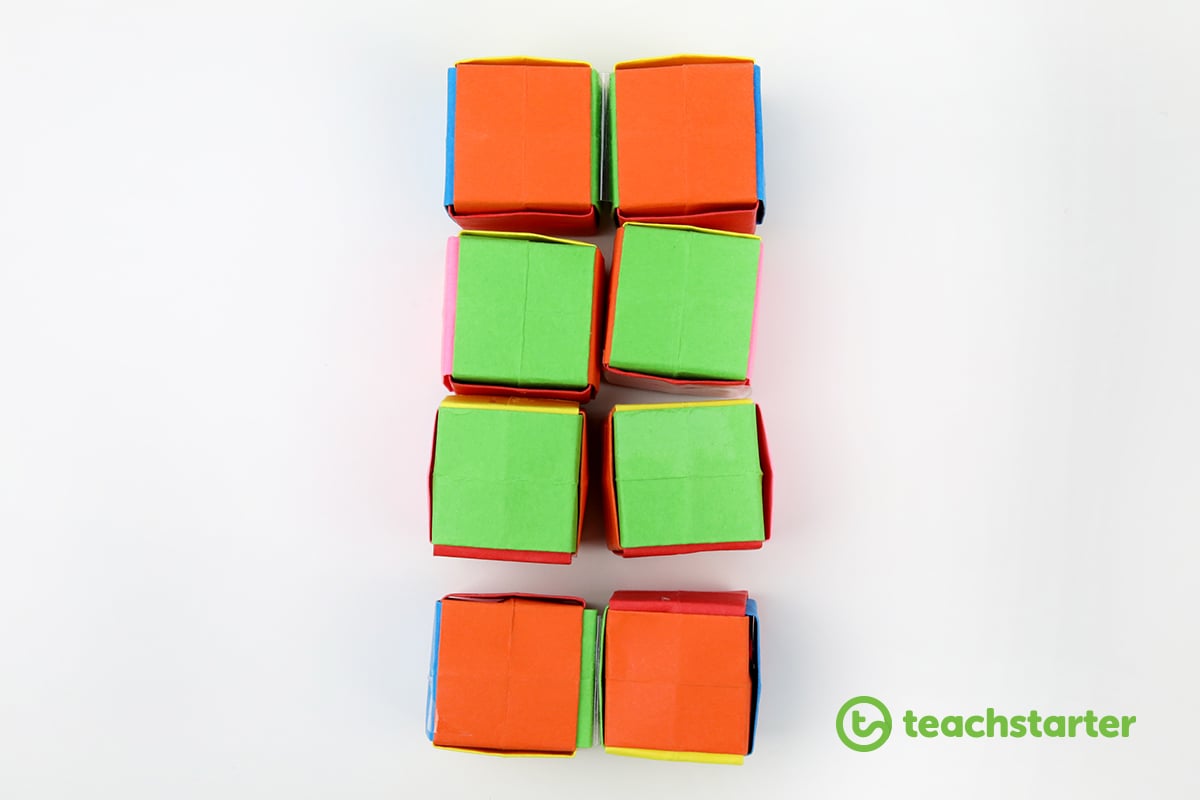
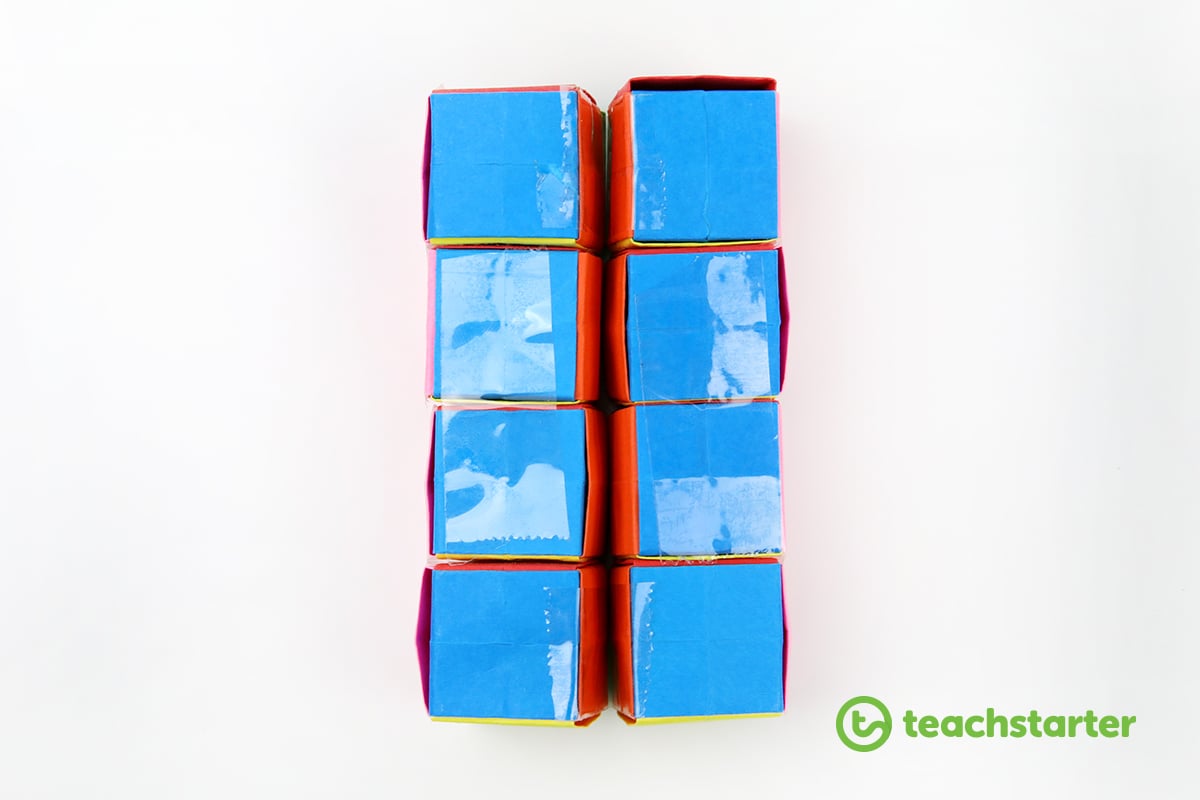
步骤14:Pick up all 8 boxes and turn over to the other side.
重复步骤12和13。
Although this time, you shouldn’t have any boxes that are left loose.
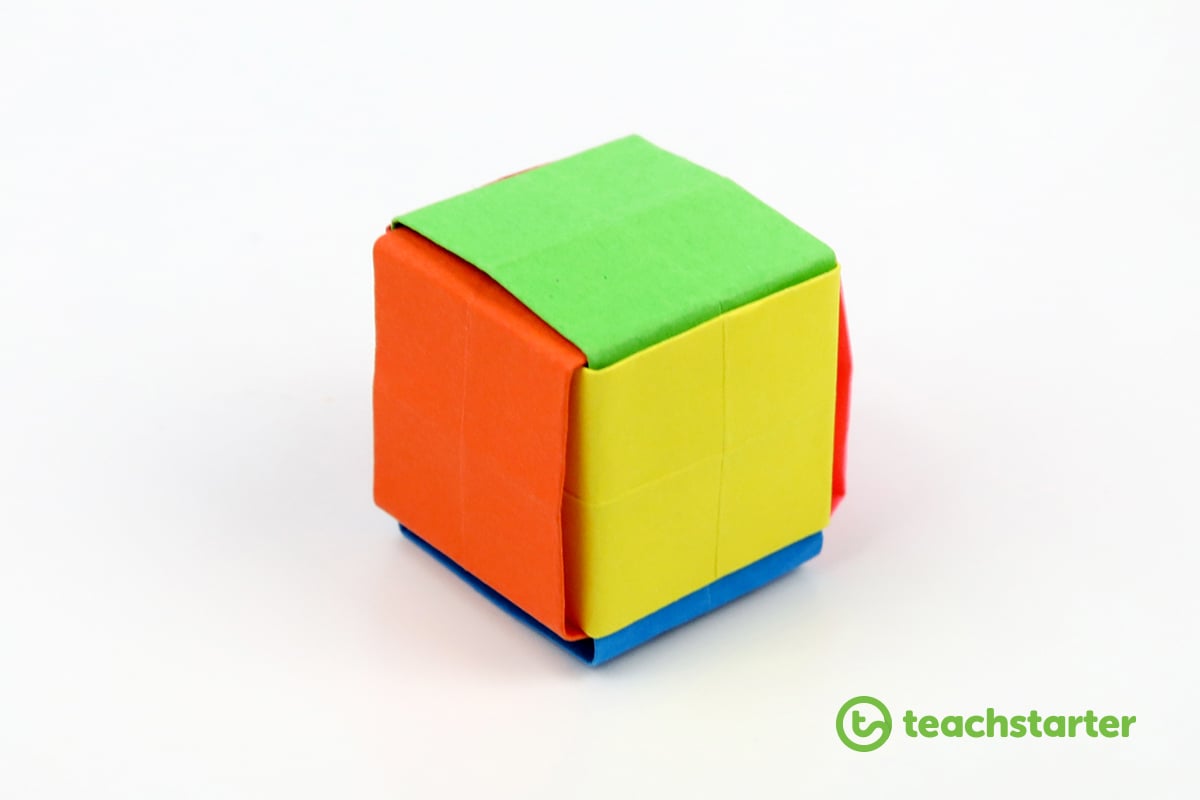
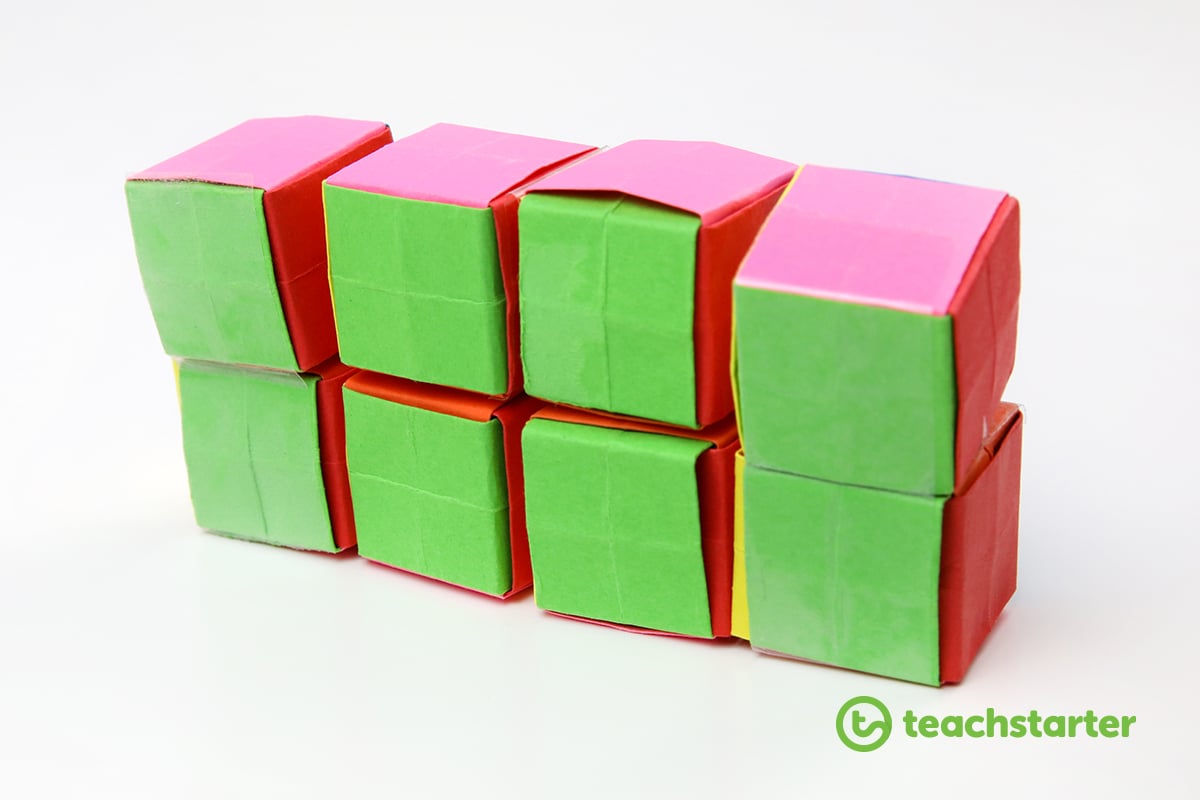
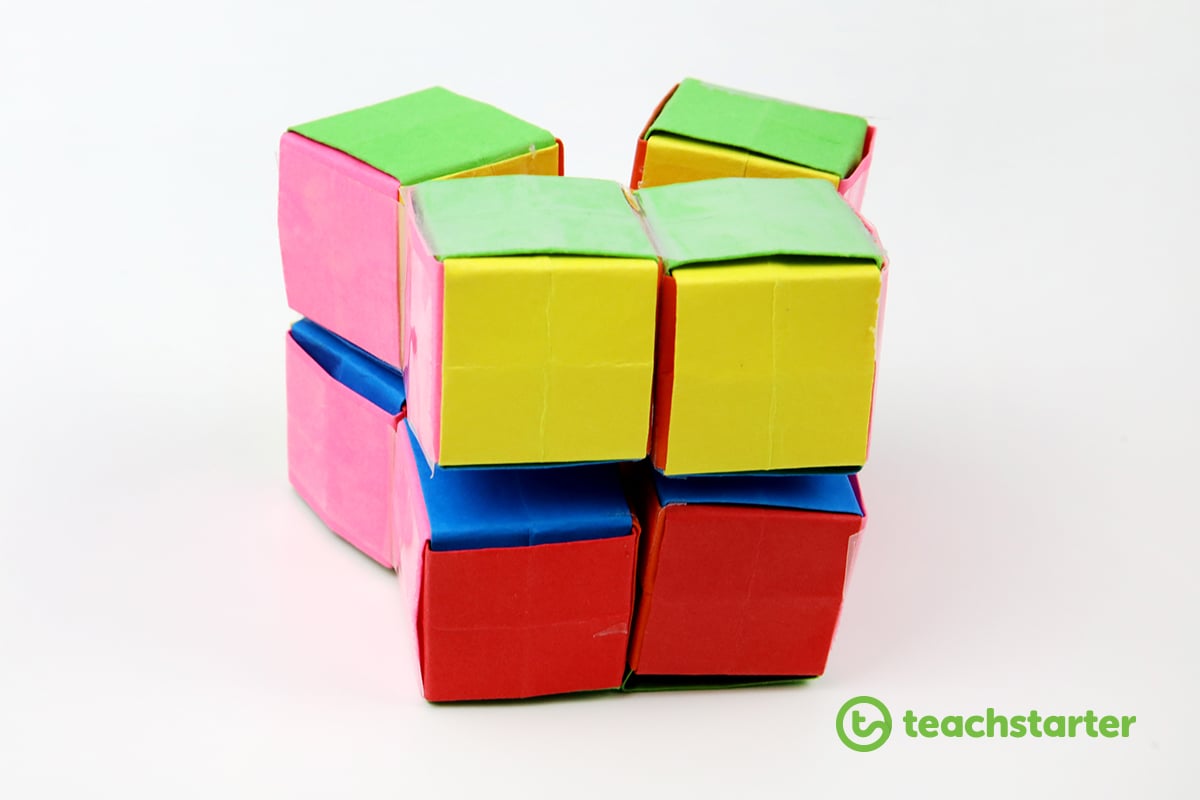
步骤15:最后,将所有8个街区转到您启动的另一侧。他们都应该具有相同的颜色显示…

步骤16:Stick the remaining 4 blocks together. like so…
ta dah…你完成了!
爱它!?您可能想查看我们的其他一些博客文章,这些文章显示如何为孩子们制作出色的折纸:

do you have the instructions on paper?
Hi Nicole, We don't have a set of instructions as a downloadable resource at this time, but hopefully you can copy and paste the instructions from the blog.
您是否建造所有的立方体?
Hi Tandy, Yes, you build them the same way. As it says in Step 6: Repeat steps 1- 5 until you have 8 perfect little 3D cubes. If there is anything else I can assist you with, please don't hesitate to contact me.
I really like this. The students could put some lesson materials or pictures onto the cubes to make it a fun art project or learning tool. Thank-you :))
What a fantastic idea, Anne! Thanks for your comment. Kind regards, Holly
This looks fantastic! Will be trying this!
感谢您的评论Tracey!我们希望看到最终产品!通过电子邮件将您的照片发送给[email protected]or tag us in photos on social media! Kind regards, Holly